Happy Hair Ties!

Happy Friday Everyone! I hope you’ve all had a lovely week! I have been busy blogging and packing today as a couple of friends and I are off for a little weekend trip to Bournemouth this evening. I have never been a light packer, (I inherit that from my mother!), and this occasion is no different! Whoops!

So this weeks blog craft is how to make these adorable hair ties! They are super cute and really easy to make.

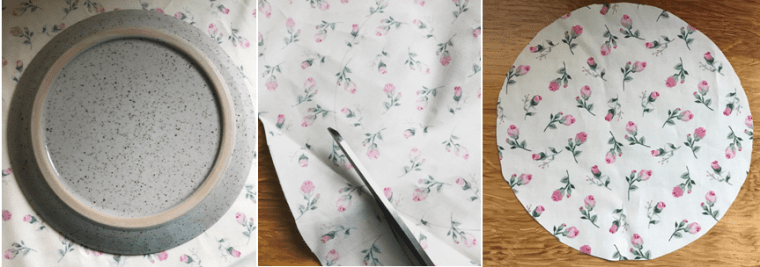
First up, all you’ll need is some elastic, a needle and thread and some pretty fabric.

1

I then cut the elastic to around 17cm long, and the fabric approx. 30cm long and 5cm wide.

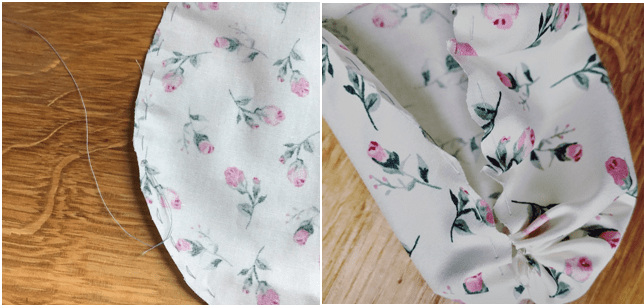
Then fold the fabric in half length ways and good sides together. I then hand sewed down the length of material.

2

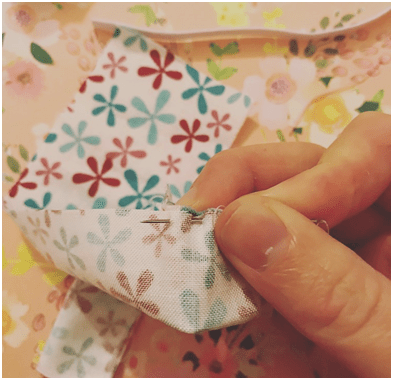
Once sewn, then turn the fabric in the right way.

3

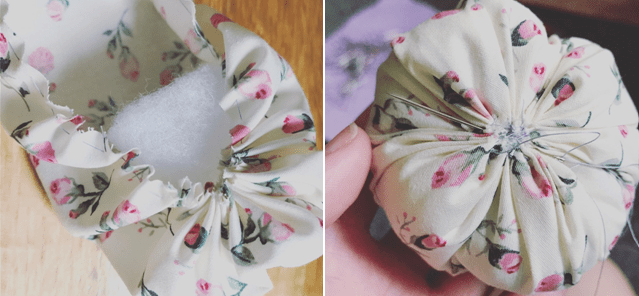
Then attach a safety pin to the end of the elastic and feed it through the middle of the material. Then sew the ends of the elastic together. After this, fold the ends of the material in and sew them together.

4

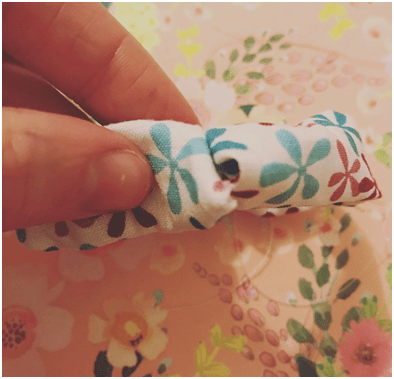
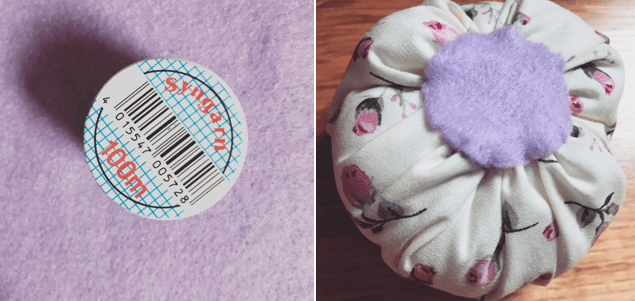
And there you have it! A super cute and comfy hair tie!

Hope you all have a lovely weekend!6

All my love,

God Bless,

Mims

xXx

Party Time!

This weekend we celebrated my Daddy’s 60 birthday! It took some convincing but Mum agreed to let us have a little party. And naturally she put me in charge of decorations. I don’t think my Dad was too up for too much pretty-fying of the garden but I might have gotten a little carried away!

2

Dad produced these adorable ‘wine’ and ‘beer’ signs that one of his friends made.

9

I made some bunting for the garden and from the food table…

12

But I decided to cheat a little for some bunting around one of the gazebos. I brought some ribbon and a few bunting packs from Tiger with pre-cut fabric triangles in. I then used some fabric glue (I used copydex) to stick the triangles onto the ribbon.

We had a lovely time celebrating!

13

Even old Mr Bear was in the party spirit!

5

And of course flowers played a big part!!

15

I hope you are all having a lovely summer!!

3

All my love,

God Bless,

Mims

xXx

A Little Bit of Summer fun!

This week has brought with it a ton of rain and grey clouds! It was like our summer just disappeared over night!! I was missing the sun and I was thinking about how I could brighten up my day when I came up with this lovely little summer craft to summer-ify your hair! Please excuse the hideous selfies! My favourite model Miss Geal was on nights!!

First of all find some lovely patterned ribbon or material flower chains and some elastic.

1

Then measure around your head, approximately 90% of the way around and cut the ribbon. Mine was 49cm. Cut a piece of elastic and using a needle and thread, sew it onto one end of the ribbon.

5

Then measure the ribbon and elastic around your head and cut and sew the other end of the elastic to the other end of the ribbon.

4

And there you have it a super simple lush way to make your summery

2look unique!


All my love,

God Bless,

Mims

xXx

A Cushion For Your Pins

Happy Friday everyone! I hope you’ve had a lovely week. This week I have been working on some sewing projects and apparently being a little messy and dweeb-like as I keep pricking my fingers or stepping on pins I’ve left on the floor! Whoops! Anyway it got me thinking about these cute little pin cushions I use to make and thought i’d make them for this weeks tutorial.

1

First up, cut a circle of any of your favourite fabric. I made mine the size of a small plate.

2

Then using a simple running stitch I sewed around the edge of the circle before pulling the remaining thread and gathering the edges together.

3

I then stuffed the centre with stuffing before fully gathering the thread and sewing the edges together to close.

4

To hide the gathering I used a thread spool to draw around on some felt before cutting out a circle. I then sewed the felt circle over the gathering to make it look nice a neat and pretty!

5

And there you have it! A super simple way to protect you fingers and toes from your pins! Plus they look adorably cute too!

6

All my love,

God Bless,

Mims

xXx