Pretty Little Ears!

Bonjourno! Happy Friday everyone! I hope you have had a lovely week! 

I had the absolute pleasure of attending a dear friends wedding in Cyprus last Friday (hence no blog post last week)! It was so beautiful and I had the most amazing time dancing bare foot in the beach sand!


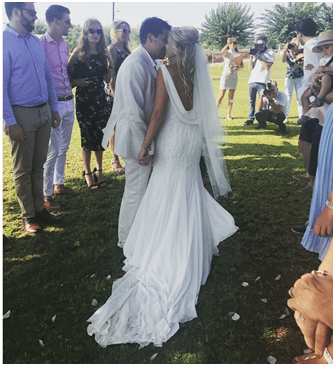
Here is a pic from the lush day! Aren’t they the most gorgeous couple!

10

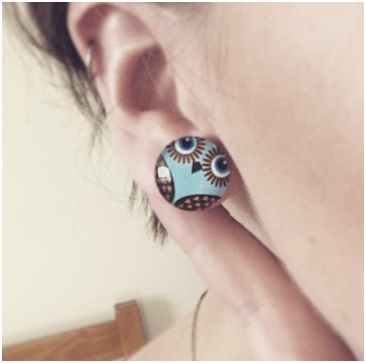
I was feeling super summery in the sun and started thinking of these adorable earrings that I made my sister last summer and thought I’d share them with you. They are super simple to make too!

4

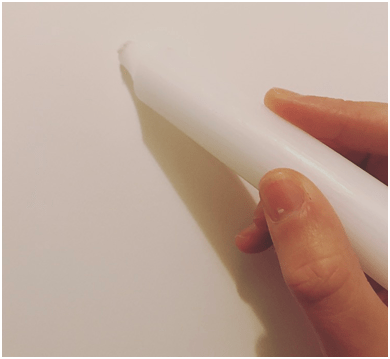
All you will need are some pretty flat backs, a glue gun and either blank earrings or hair clips.

Select the flat back designs that you want to use and use your glue gun to stick it to the blank earring. Then make sure to let the glue dry thoroughly before you start using the earrings.

And there you have it! It really is that simple and makes such cute little gifts! Hope you all have a lovely week!

All my love,

God Bless,

Mims

xXx


A Happy Little Upcycle

So last weekend was a whole heap of fun! Those of you who know me will know that other than crafting my other love is Obstacle Course Racing! I just love mud! And last weekend my usual OCR buddy Jo and I introduced some of our other friends to all the glorious mud that the Nuts Challenge offers! And it was pretty epic! They all absolutely smashed it!

Here are a few pics from the day…

1.1

Now in contrast from all that mud, this week’s craft is super pretty! I’ve been wanting to try this for a while and finally had a spare afternoon to give it a go. All you’ll need are some empty glass bottles or jars and some acrylic paint.

1

First of all give the bottles a good clean and if necessary give them a soak to remove all the sticky labels.

Then over something you don’t mind getting paint all over, pour some acrylic paint in the glass bottle, gradually swirling the paint around the bottle, until the entire inner surface is covered. Then turn the bottle upside down and allow to drain. I have learnt today that you need a lot less paint than you think you do to cover the inner surface you just have to be patient and wait for gravity to draw the paint down around the bottle.

2

3

Then allow the bottles to drain and fully dry for around 12 hours or so.

4

Then fill them with beautiful flowers!!

7

6

5

All my love,

God Bless,

Mims

xXx


Hello September!

Well can you believe it’s September already! Where is this year going?! It’s crazy how time flies and before you know it this is my 26th Blog post! I have honestly loved doing these blogs so far but to say it’s been a breeze to come up with new ideas would be a tiny bit of a lie I think! I love the creative challenge it brings each week but for some reason this week I seem to be a little creatively inept! So for this week I have taken things right back to basics. Combine a good old bit of wax candles and watercolour paints and you have a little super simple craft that takes me right back to my childhood.

5

First you gather some water colour paper using a wax candle like a pen, create a design on the paper.

1

Then using the watercolours paint over the page and gradually watch your picture come to life!

2

I love the way the wax repels the water colour.

3

I hope you have an amazing start to September!

4

All my love, 6

God Bless,

Mims

xXx