May Day Celebrations

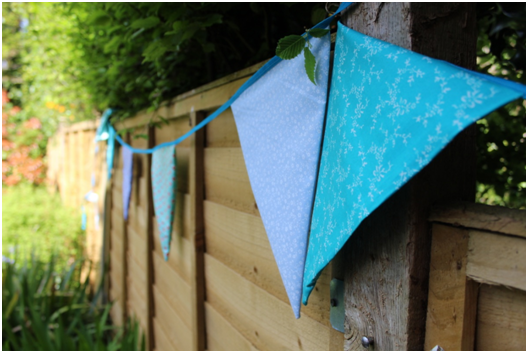
Happy Friday everyone! This evening sparks the start of a lovely bank holiday weekend, and what better way to celebrate the May Day bank holiday than with a lovely little garden party. Today’s post is all about this lush homemade bunting! It’s super quick and easy to make, and turns your garden into something special to impress all your guests.

1

2

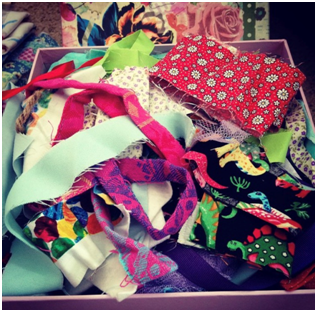
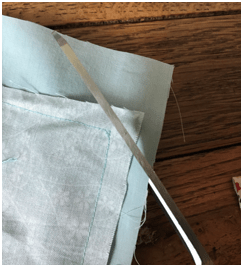
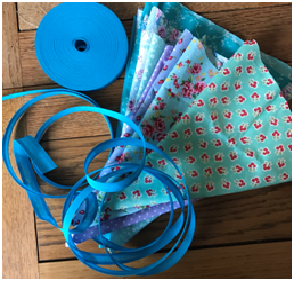
To make the bunting you’ll need around 2 hours, maybe longer/less depending on how much you make. First up you’ll need some lovely coloured fabrics, a sewing machine, thread, fabric scissors, pins and some pre-folded bunting tape (you can pick this up in varying thicknesses in most sewing shops and online).

3

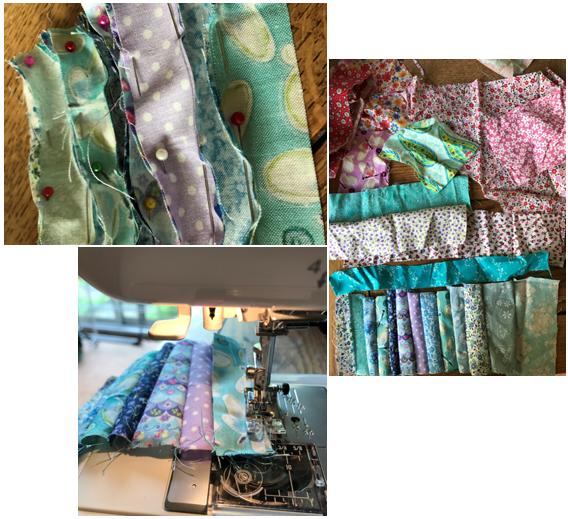
I then got a piece of cardboard and cut it to the size I wanted my bunting triangles to be. I then drew two triangles side by side before cutting them out.

I then pinned and sewed the triangles before turning them the right way round.

7

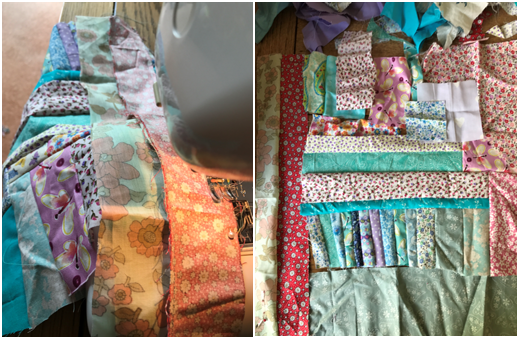
Next get your bunting tape and approximately every 30cm sew in a triangle (vary this length depending on how much space you would like between each piece). Make sure to leave around 30cms at each end of the bunting so that you have enough to tie it onto something in order to hang it up.

8

9

10

11

Then all that’s left is to invite all your friends to come celebrate with you! I hope you have a lovely bank holiday!12

All my love,

God Bless,

Mims

xXx

13

A Little Upcycling Cushion Project

Storage solutions are everywhere these days. If you have a little Google a whole host of helpful and handy ideas and resolutions are readily available and very useful. However there is something rather lovely about the simplicity of using pretty boxes to store things in. They are not only exceptionally pretty they but they can also be a cheaper and fun option.


I use one of my many lovely boxes for all the little scraps of material that get left behind. I can’t quite bring myself to waste them and throw them away. I’m a bit geeky as I love looking through the box as it reminds me of some of the little projects I’ve done over the years.

1

Every now and then the lid becomes a little of a snug fit and the scraps are overflowing! So what better way to solve the problem than to make a lovely scrap cushion! Kinda kills two birds with one stone, using up my scraps of material without them going to waste and I get a lush new cushion too!

Firstly, I have a rummage and find some scraps that sort of match and gradually match up different sizes, sewing them together as I go.

2

I love it as it’s a gradual process; you never quite know how it’s going to turn out. Initially I don’t worry too much about the size of the final piece, It’s more about gradually fitting pieces of material together, kinda like a puzzle with no correct answer.

3

Once all the pieces are sewn together, I then used the cushion inner as a basis for the size of the cushion. For the back of the cushion I measured 2 pieces of material that were ¾ of the width of the cushion inner and the same height.

4

I folded approx. 1cm of the edge of the material over twice and sewed down this to make a neat edge to the opening of the back of the cushion.

5

I then sewed the edges together, before turning the cushion cover the right way round, cut across the corners, so that you get a nice point to the corners when they are turned round the right way.

6

And there you have it! A lovely little afternoon project!

All my love,

God Bless,

Mims

xXx

Happy Easter

Over the last couple of weeks we have been truly blessed with the most beautiful weather. Just in time for making Easter feel that much more special with spring really displaying it’s best qualities.

Here’s a little collage of photos from a recent trip to Covent Garden. I’m literally in love with their Easter decorations!

Edited

All those colours just make you feel so happy don’t they!

Here’s another little collage from a lovely walk in Hampshire.

Edited2

This week I have been on nights and feel like I’ve been missing out on some rays. But before I started work I created my Easter display and my room has been filled with the scent of hyacinths and daffodils ever since. This week’s Easter make are these lovely little hanging Easter eggs.

ed13

First of all you’ll need some ribbon, some plastic white eggs, a glue gun, PVA/Pritt stick glue, and other decorative media of your choice. I used paints, glitter and washi tape to create mine.

ed7

For the glitter eggs, I coated the eggs in Pritt stick (so disorganised that I ran out of PVA!), then poured glitter over the eggs and let them dry thoroughly.

ed8

For the painted eggs, I painted one half and let them dry so as to not get my prints all over the eggs. To dry them I placed the eggs on top of old drinks bottles. Once dry I then painted the other half and repeated the process of drying.

ed3

ed9

The washi tape eggs were slightly trickier in that the eggs are obviously round and the tape is not! So I found using narrower tapes and placing them towards the centre of the egg were more effective.

ed5

In order to be able to hang the eggs up, I used little strips of ribbon, and made a loop sticking them down to the top of the eggs with my glue gun.

4

Then all that’s left is to arrange them and admire all that happy Spring-ness!!

ed10

Hope you have a very Happy Easter!

All my love,

God Bless,

Mims

xXx

Matthew 28: 1-10ed11

The World According to Washi

So as you may have guessed by now, I’m all about the Washi tape! Literally cannot get enough of the stuff!

Fav Tapes

Not sure exactly why I’m quite so obsessed, maybe because of all the pretty colours and textures, the glitter, the patterns, the different sizes and its versatility. But as my stash of tape has expanded, I realised I needed to come up with a cute storage solution too.

Edited

I have often seen these cute wooden box storage units in photos and have always longed after one but haven’t quite been able to justify the need. So my expanding Washi tape collection was the perfect excuse to purchase one.

Box

I got the box off of eBay. You can buy them already looking pretty too but naturally I wanted to have a little play. There are so many fun and funky ways to decorate them (decoupage, ribbon, pretty papers, glitter) but I thought I’d use the Washi tape it was going to contain as inspiration.

Elephant Love

Equipment needed:

Plain storage box

Washi tapes

Sticky backed fabric paper

Glue


Firstly I selected some of my favourite washi tapes and sticky backed fabric papers (I got these from Tiger – so cute).

Fabric Paper

I then started working on a decorative design for the box, arranging the paper and tapes in a pattern. I used the end of the drawers to use as a stencil to draw around on the sticky backed paper. Once this was cut out, (I used fabric scissors as the fabric tends to fray using regular paper ones) I then carefully stuck the fabric paper over the end of the drawer. Then moving on to the washi tape drawers, I started at the bottom firmly sticking the tape down in rows. I used a pencil to mark on the back of the tape where the opening holes would go to get an accurate finish.

Then all that’s left to do is fill the drawers with all your favourite things!IMG_6662

All my love,

God Bless,

Mims

xXx


Blue Washi

Door Knobs