A Little Bit of Glitter!

Happy Friday Everyone! This week has been a little cray cray to say the least! And what better of a time (sorry that’s terrible English – please forgive me, I’ve just finished a night shift!) to decide to cover your room with glitter.  Why is it that whenever I use glitter I manage to coat everything in a vague vicinity – including myself – with a layer of sparkle! Now before I dive straight into this weeks craft, I must introduce you to the latest addition to my succulent family! Meet Gertie! Isn’t she a beaut!

8

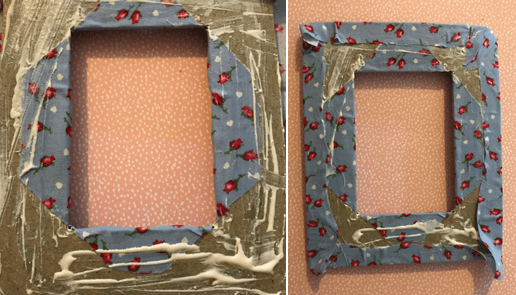
Anyway for this weeks craft be prepared to get covered in glitter! To start you’ll need PVA glue, glitter, masking tape, a paintbrush and some kind of glass bottle or vase. First up section off the part of the vase/bottle that you want to cover in glitter.

2.1

Then smother that section in PVA glue before pouring glitter over it. I left the bottom bare so that it didn’t stick to the table after!

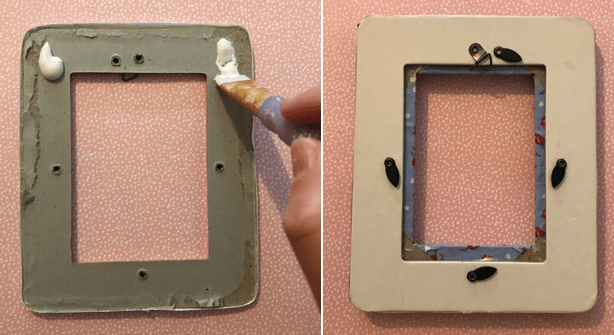
Then let them dry before peeling the tape off slowly to (hopefully) leave a nice straight, neat finished edge to the glitter.

1

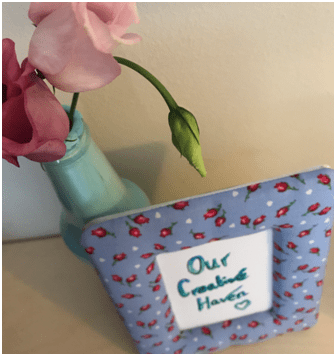
And there you have it! Super simple and a great way to give a dreary day a bit of sparkle!!

All my love,6

God Bless,

Mims

xXx

Fabric Photo Frames

Hello October! Well didn’t you sneak up on us pretty quickly! It’s been a little bit of a busy week but I am pleased to say that I have officially started my Christmas shopping! It is after all only 80 days until Christmas day (Eek)! So with that in mind I have been thinking about handmade present ideas. This weeks craft is how to upcycle an old photo frame.9.1

I brought this padded photo frame from a charity shop but the material is a little old and in need of a little update. This way you can change the photo frame to match your colour scheme or room. I started by separating the front of the padded frame from the back, this can be a little tough and can need a bit of gentle force to make it happen!

1

Once separated carefully remove the material from the foam padding.

2

Then select a piece of fabric that you love and cut it to size – slightly larger that the padding. Draw around the central space within the frame.

3

Take the material and cut into the corners of the centre. Then start to glue the back of the padding. I used Copydex fabric glue.

4

Starting with the inside of the frame start to fold the edges in and stick them down. When it comes to the corners leave them until last to stick down.

5

Having applied more glue underneath, then fold the corners over and stick them down.

6

Using the same glue, cover the frame backing before applying this to the back of the padding. Hold together until secure.

7

And there you have it! A super simple present idea!

8

All my love,9.1

God Bless,

Mims

xXx

10